Whether you’re chasing adventures in the outback, navigating a dark trail at night, or just want your rig to look that little bit cooler, a quality lightbar can make a massive difference. But the questions are, which one to buy, what is best for your vehicle and what is involved?
Don’t stress. Below is a guide on how to get the best one for your vehicle and soon enough you’ll be lighting up the track like daylight.
Step 1: Choose the right lightbar (for you)
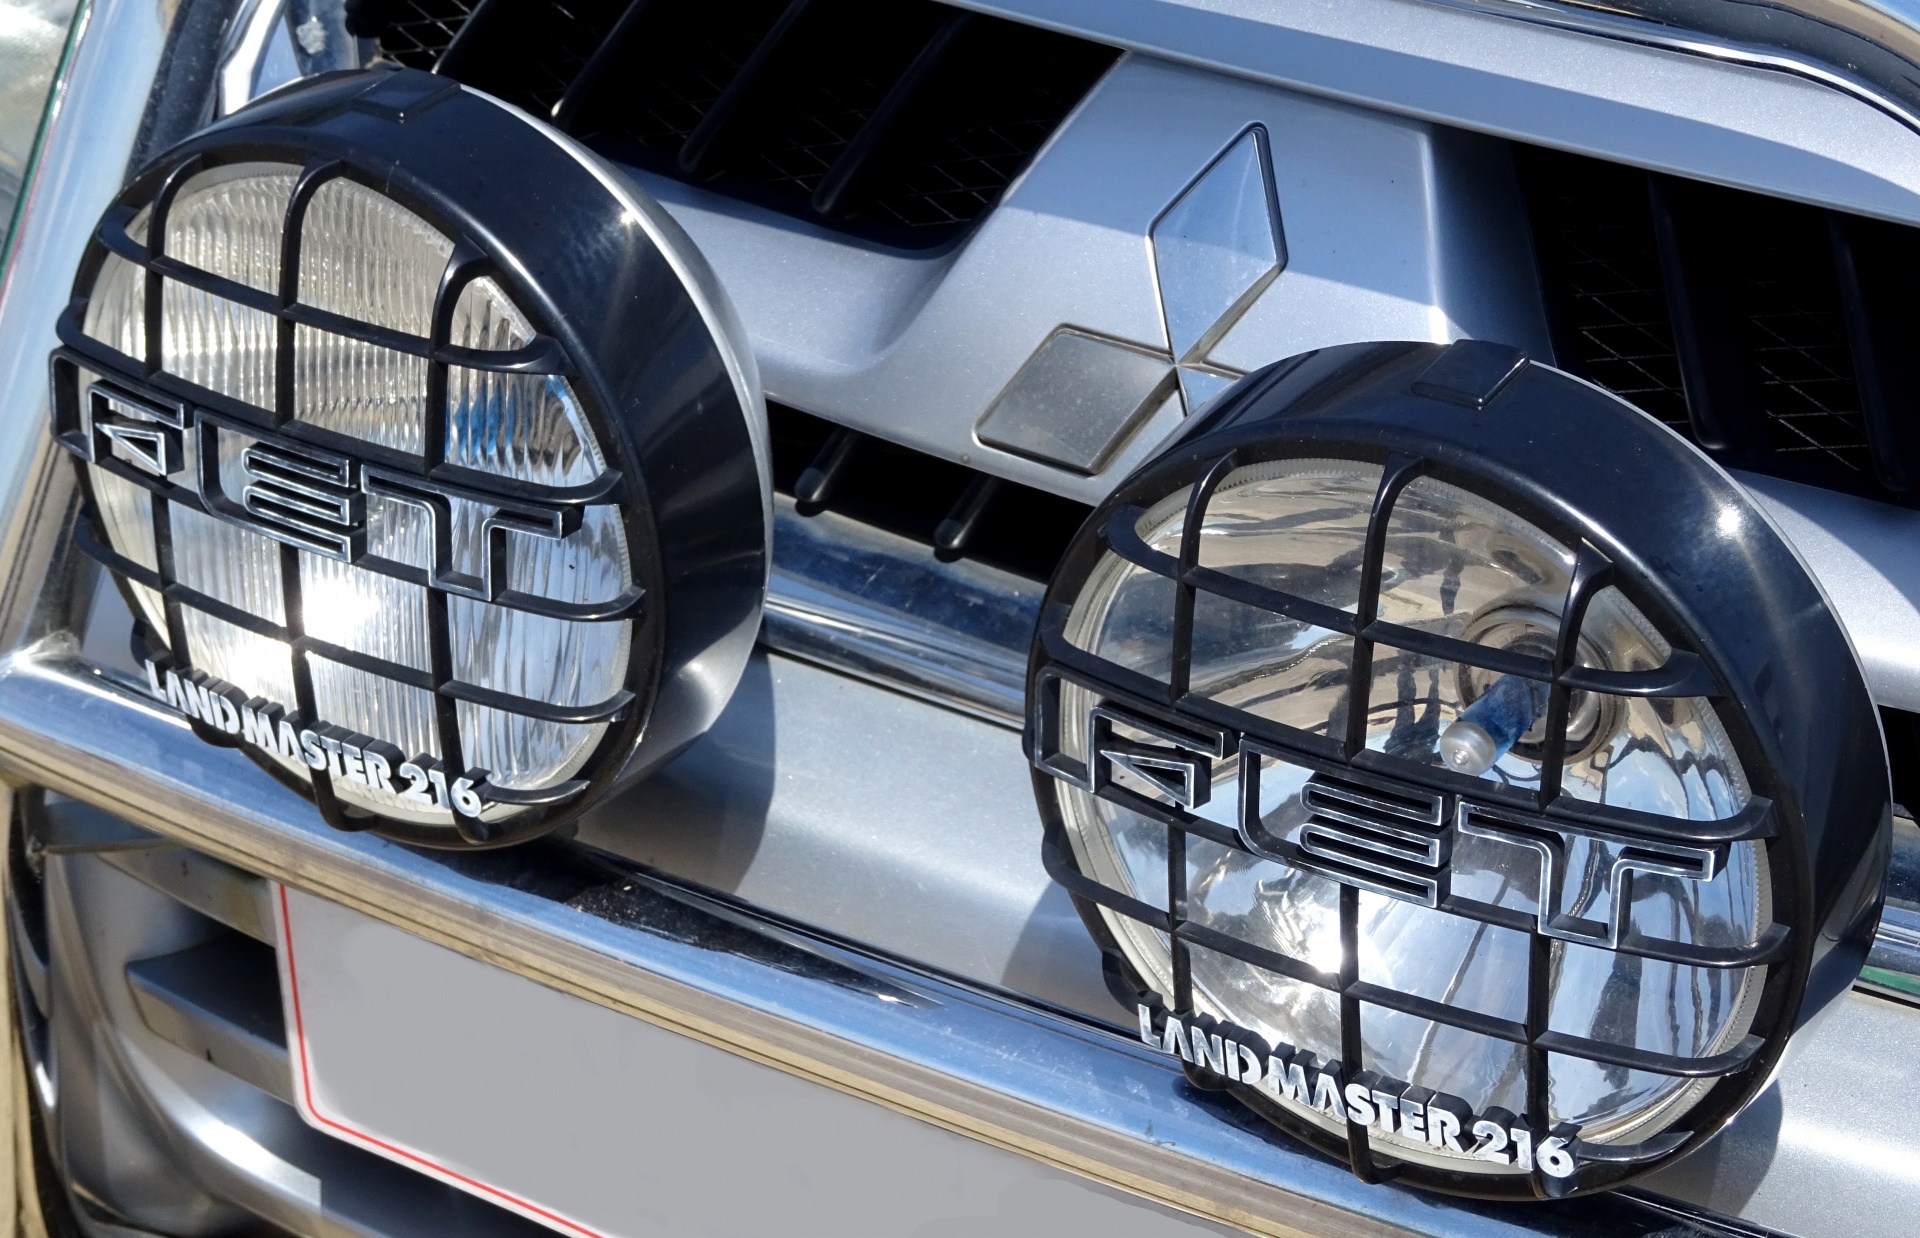
Of course Autospark can assist with the best advice on which one to get but it never hurts to do a little research yourself. Look at other vehicles and see what they have, ask your off-road friends about theirs and get an idea on costs by just asking questions. Think about what you’ll be using it for. Long-distance driving? Floodlight-style coverage? A mix of both? Look for something with solid build quality (IP67 rating is ideal), and the right size for your bull bar or roof rack.
If you’re not too sure on what lighting to choose, Autospark stocks a wide range of lighting options and equipment in the spotlight area, not just lightbars, but round led driving lights, spot lights, and conversion kits. The Titan Series Slim Light Bar is always a solid option when it comes to your light bar install, with 9 bright 5W led lights, a combination beam pattern, and powder coated finish.
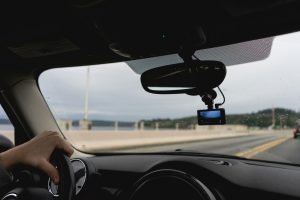
Step 2: What about Mounting the lightbar
Most lightbars come with some form of a universal mount, however, the placement area needs to be considered and this is where we can assist with our vast experience. Typically, it would be secured to either to your roof rack or bull bar, depending on the look and coverage you’re chasing.
Brackets and bolts provide a secure mount. Keep in mind, off the road It’ll be bouncing around on corrugations, so it needs to hold steady.
We would make sure it’s not obstructing airflow to your radiator or violating any state road laws around height or visibility. We check the beam alignment to ensure optimal road coverage and make sure it is all secured effectively for long-term use.
Step 3: Getting it fitted
Typically your lightbar purchase would include all the necessary fitment parts for installation. Typically is not always the best way to go, depending on your vehicle and where you want it mounted, we make sure it is fitted securely and legally for the best long-term use and avoid any problems.
If you’re unsure about any of the above, or just confused on what the best lightbar would be for your needs, come see us at Autospark and we’ll be more than happy to advise, supply and fit the bar for you. When it comes to the electrics, it’s always better to be safe than sorry, so this is where professional installation is best
Step 4: Let there be light!
Once fitted, we’ll install the necessary operation switch, typically in your dash or centre console that’s easy to reach but won’t get bumped accidentally. Take it home and celebrate with a cold one. You’re now set up with a reliable install that lights up every adventure so you don’t have to worry about missing out just because of the dark.
Keep in mind
Plenty of 4WD owners prefer to let a professional handle it especially when you want a neat, clean finish and guaranteed electrical safety. Autospark have bee been wiring up 4WDs across WA for years. We know the ins and outs of lightbar setups and can get yours sorted quickly and properly. Whether you’ve already got your gear or need help choosing the right lightbar, we’re always happy to help.